LET US HELP YOU GROW
Connecting to the mains
SET UP YOUR LED FIXTURE INTERLINK CONFIGURATION BEFORE CONNECTING THE DIMLUX XTREME LED FIXTURES TO A POWER SUPPLY.
Warning! Make sure mains power is switched off. Also read all other warnings at the end of this page
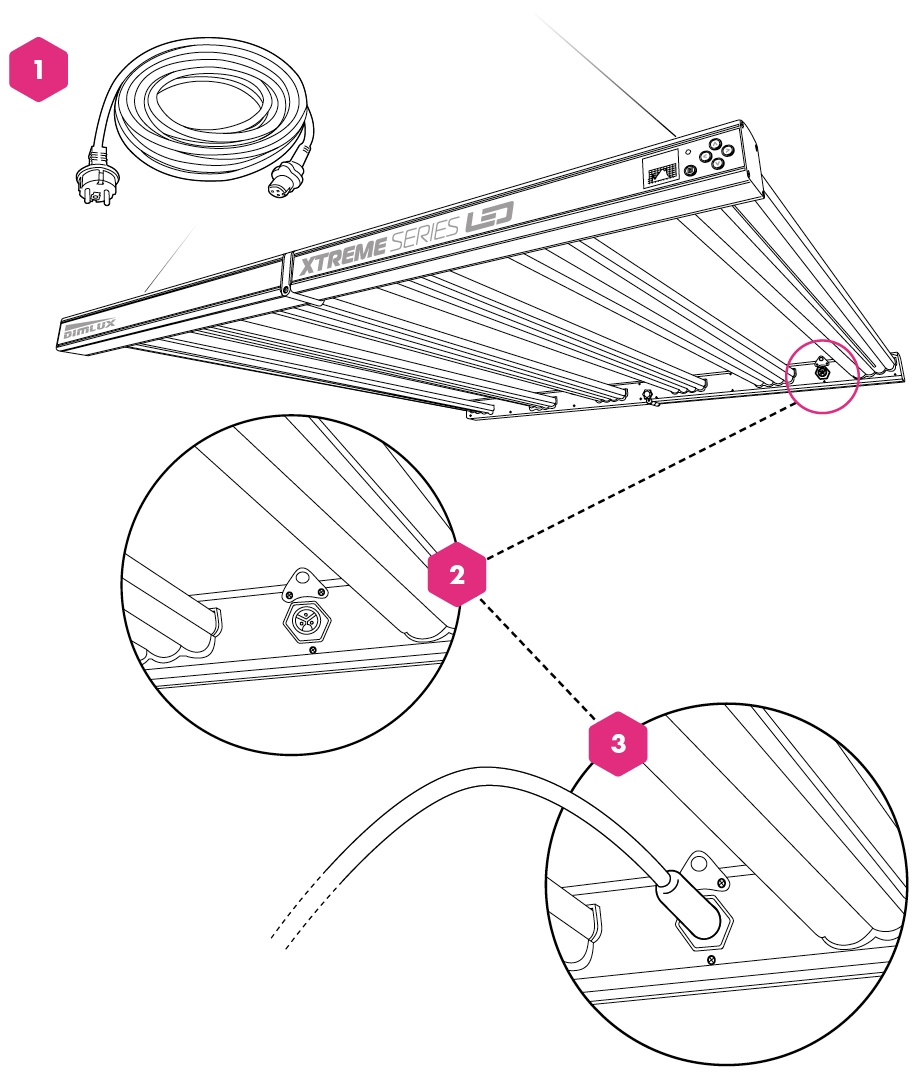
1. Power Cable
Take the supplied Power Cable. (EU/UK/USA)

2. Search for power socket
Search for the round power sockets on the Dimlux Xtreme LED fixture..

3. Insert the round waterproof power plug
Insert the round waterproof power plug in to the power socket on the Dimlux Xtreme LED fixture and make sure it is firmly and fully plugged in.
We advise you to route the cables through the top of the fixture.
NOTE make sure that power and all other electrical wiring is done by a certified electrician.
Warning!
- Make sure mains power is switched off.
- Ensure the cord is not coiled and does not touch any hot surfaces.
- Connect the cables according to local rules, safety regulations and electrical code.
- Ensure external switching gear can cope with the inrush current of the LED fixture. Always use a double pole contactor suitable for switching a capacitive load. Never use household timers to switch the LED fixture!